Short answer: pick a splashback tile that is easy to wipe clean, suits the benchtop and cabinetry, and comes in a size and layout that fits the wall without awkward slivers. Plan the layout and grout colour before the tiler starts, and make sure the benchtop and power points are sorted first. A splashback is a small area, so it is a good place to spend a bit more on a tile you love.
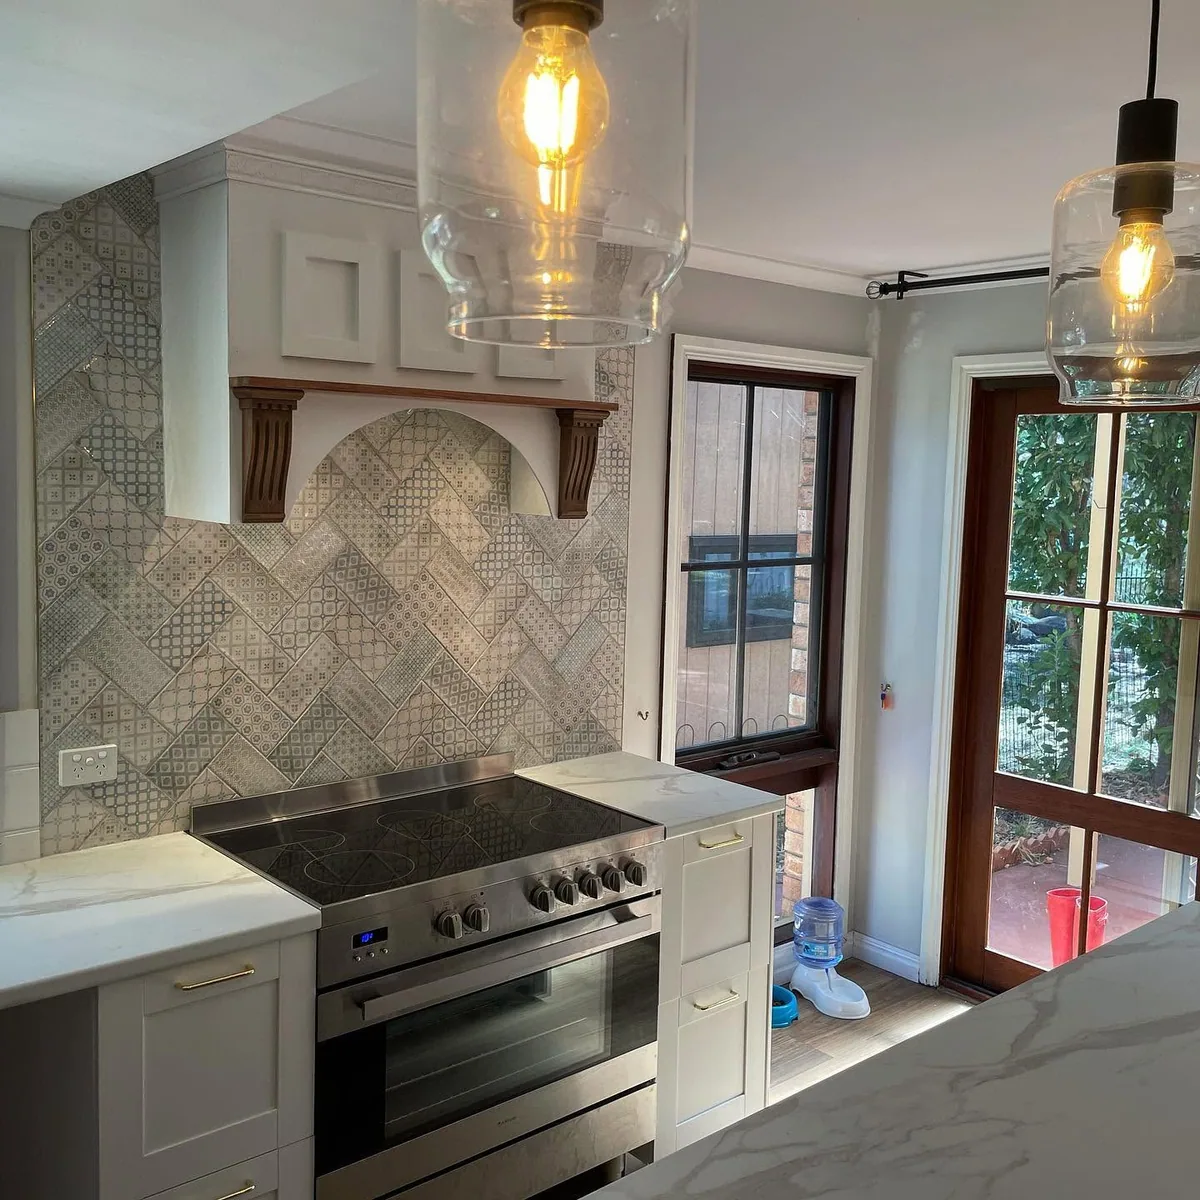
We tile kitchen and laundry splashbacks across Adelaide's southern suburbs, including the patterned herringbone splashback in the photo above, laid behind a cooker in Reynella.
Choosing the tile
- Subway tiles. Classic, affordable and easy to keep clean. They work in a straight stack, a brick bond or a herringbone.
- Gloss or matt. Gloss tiles bounce light around and wipe clean easily. Matt tiles hide marks but can hold grease in the texture.
- Patterned and feature tiles. These turn the splashback into the focal point of the kitchen. Keep the rest of the kitchen simpler so they do not compete.
- Mosaics. Small tiles on a mesh backing. They suit curves and small areas, but there are more grout lines to clean.
- Large format tiles. Fewer grout lines and a cleaner, calmer look. They need a flat wall and careful planning around power points.
Choosing the layout
The layout changes the look as much as the tile does. A straight stack looks modern, a brick bond looks classic, and a herringbone or chevron adds movement. Pattern layouts take more time, because every tile is set out from a centre line and the cuts at the edges have to be even. If the set-out is off at the start, the pattern drifts across the wall and it shows. That is why herringbone splashbacks usually cost more to lay than a straight stack.
Before tiling, a good tiler will plan:
- where the pattern is centred, usually on the cooktop, rangehood or window
- how the tiles finish at the ends, so there are no thin slivers
- how the tiles meet the overhead cupboards, the rangehood and any window reveal
- where the cuts fall around power points and switches
Grout: colour and type
A grout that matches the tile keeps the focus on the tile itself. A contrasting grout shows off the pattern, which suits subway and herringbone layouts. Behind the cooktop and sink, a mid-tone or darker grout hides cooking splashes better than bright white. Epoxy grout costs more but resists stains better than standard cement grout, which is worth considering behind a busy cooktop.
How high should a splashback go?
Most kitchen splashbacks run from the benchtop up to the underside of the overhead cupboards or rangehood. Where there are no overhead cupboards, you can stop at a set height, take the tiles up to a shelf, or tile to the ceiling for a feature wall. Behind a cooktop, check the appliance installation manual for clearances and keep the tiles going at least to the rangehood.
What installation involves
- Benchtops first. The benchtop has to be installed before the splashback, so the tiles sit on the finished surface.
- Power points. An electrician may need to fit extenders so power points sit flush with the new tiles.
- Wall preparation. The wall needs to be sound, flat and clean. Old tiles can sometimes stay, as our guide on tiling over existing tiles explains.
- Set-out and tiling. The layout is marked out, then the tiles are fixed and left to set.
- Grouting and sealing. Grout goes into the joints, and a flexible silicone joint goes where the tiles meet the benchtop and the cupboards, because those junctions move.
What does a tiled splashback cost?
Canstar puts splashbacks anywhere between $500 and $5,000, depending on the material (Canstar, 31 July 2026). For a tiled splashback, the cost mainly depends on the area, the tile you choose, the layout (a herringbone takes longer than a straight stack) and how many cuts there are around windows and power points. Those are published ranges, not our prices.
Laundry splashbacks
The same choices apply to a laundry. A tiled splashback behind the tub and the washing machine taps protects the wall from splashes and is easy to keep clean. It is also one of the quickest ways to lift a tired laundry.
Getting it done
Splashbacks are part of our wall tiling service, and we take on small jobs like a single splashback as well as full renovations. We work across Morphett Vale, Woodcroft, Reynella and the southern suburbs. Send us a photo of the wall for a free quote.